Docker一词我大概在2015年就有所耳闻。当时,我对Microsoft的.NET Core还颇为热情。
有一天,朋友S来我的住处,带着他的Mac笔记本。S正准备离开大连,临行的时候,来我这里住几日。
正逢微软的Connect大会,具体发布了什么产品,我全不记得。我拿来S的Mac看直播视频,一个中年男子在宽阔的讲台上,饶有兴致地说着什么。我英语听力很差,并不能知道他究竟在说些什么。看他的Demo,才能多少知晓一点,其中便提到Docker。
但在当时,我究竟连Docker是什么都没搞清楚。
16年的时候,同事P开始使用Docker,并对此颇为推崇。具体怎么好,我也没能从他那了解到,或者我忘却殆尽。
如今,新的东西层出不穷,Docker早就是陈芝麻了。在使用Docker之前,我用Virtualbox搭建开发环境。Virtualbox配合Vagrant就显得更为方便了,写个配置程序,运行之,便能构建一个完全的环境。最近,Mac存储吃紧,我无法再新建虚拟机了。为了减轻主机压力,我买了一个Win用来做环境,代码基于Git共享。但是很不方便,因为在Mac上的修改,欲看运行效果,就需要push到Win上。这不是个好方式!
这才想到了Docker。但,它真的能方便我开发吗?答案相当肯定。下面,我主要是作为用户的立场,来说一说如何配置、使用Docker,并列举一些常用的命令。至于更系统的研究,当下我是没有时间的。
Docker有一个可视化的桌面应用,包含了Mac和Windows版本。其下载地址为:
https://www.docker.com/products/docker-desktop
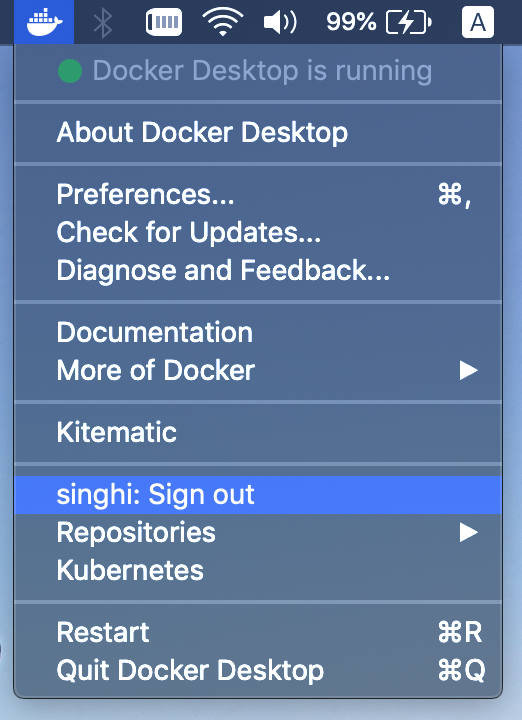
下载后安装即可。安装后在电脑的状态栏有一个载满集装箱的小鲸鱼应用图标:

从这些菜单项,你可以很方便地访问到其官网、文档、Docker镜像仓库中心,重启Docker Desktop、退出等。
其中的 Kubernetes,摘来百度上的一段定义如下:
kubernetes,简称K8s,是用8代替8个字符“ubernete”而成的缩写。是一个开源的,用于管理云平台中多个主机上的容器化的应用,Kubernetes的目标是让部署容器化的应用简单并且高效(powerful),Kubernetes提供了应用部署、规划、更新、维护的一种机制。
官网定义如下:
Kubernetes (k8s) is an open-source system for automating deployment, scaling, and management of containerized applications.
由此,大概能知道这是个容器管理工具。暂且不去深究。
如何来创建一个容器呢?
docker命令提供了接口,你只需要执行如下命令:
docker create --name box IMAGE
这样就生成了一个容器,如何查看呢?使用如下命令:
docker ps -a
选项 “-a” 表示要列出全部的容器,包括退出的和正在运行的。
要使容器工作起来,运行一下命令:
docker start box
至此,我们就可基于Docker来感受便捷的开发体验。然而,更为细致的配置在于镜像,也就是上面第一个命令中的IMAGE。
什么是IMAGE?用官网的一句话可以说明其用途:
Container images become containers at runtime and in the case of Docker containers - images become containers when they run on Docker Engine.
我们去Docker Hub:
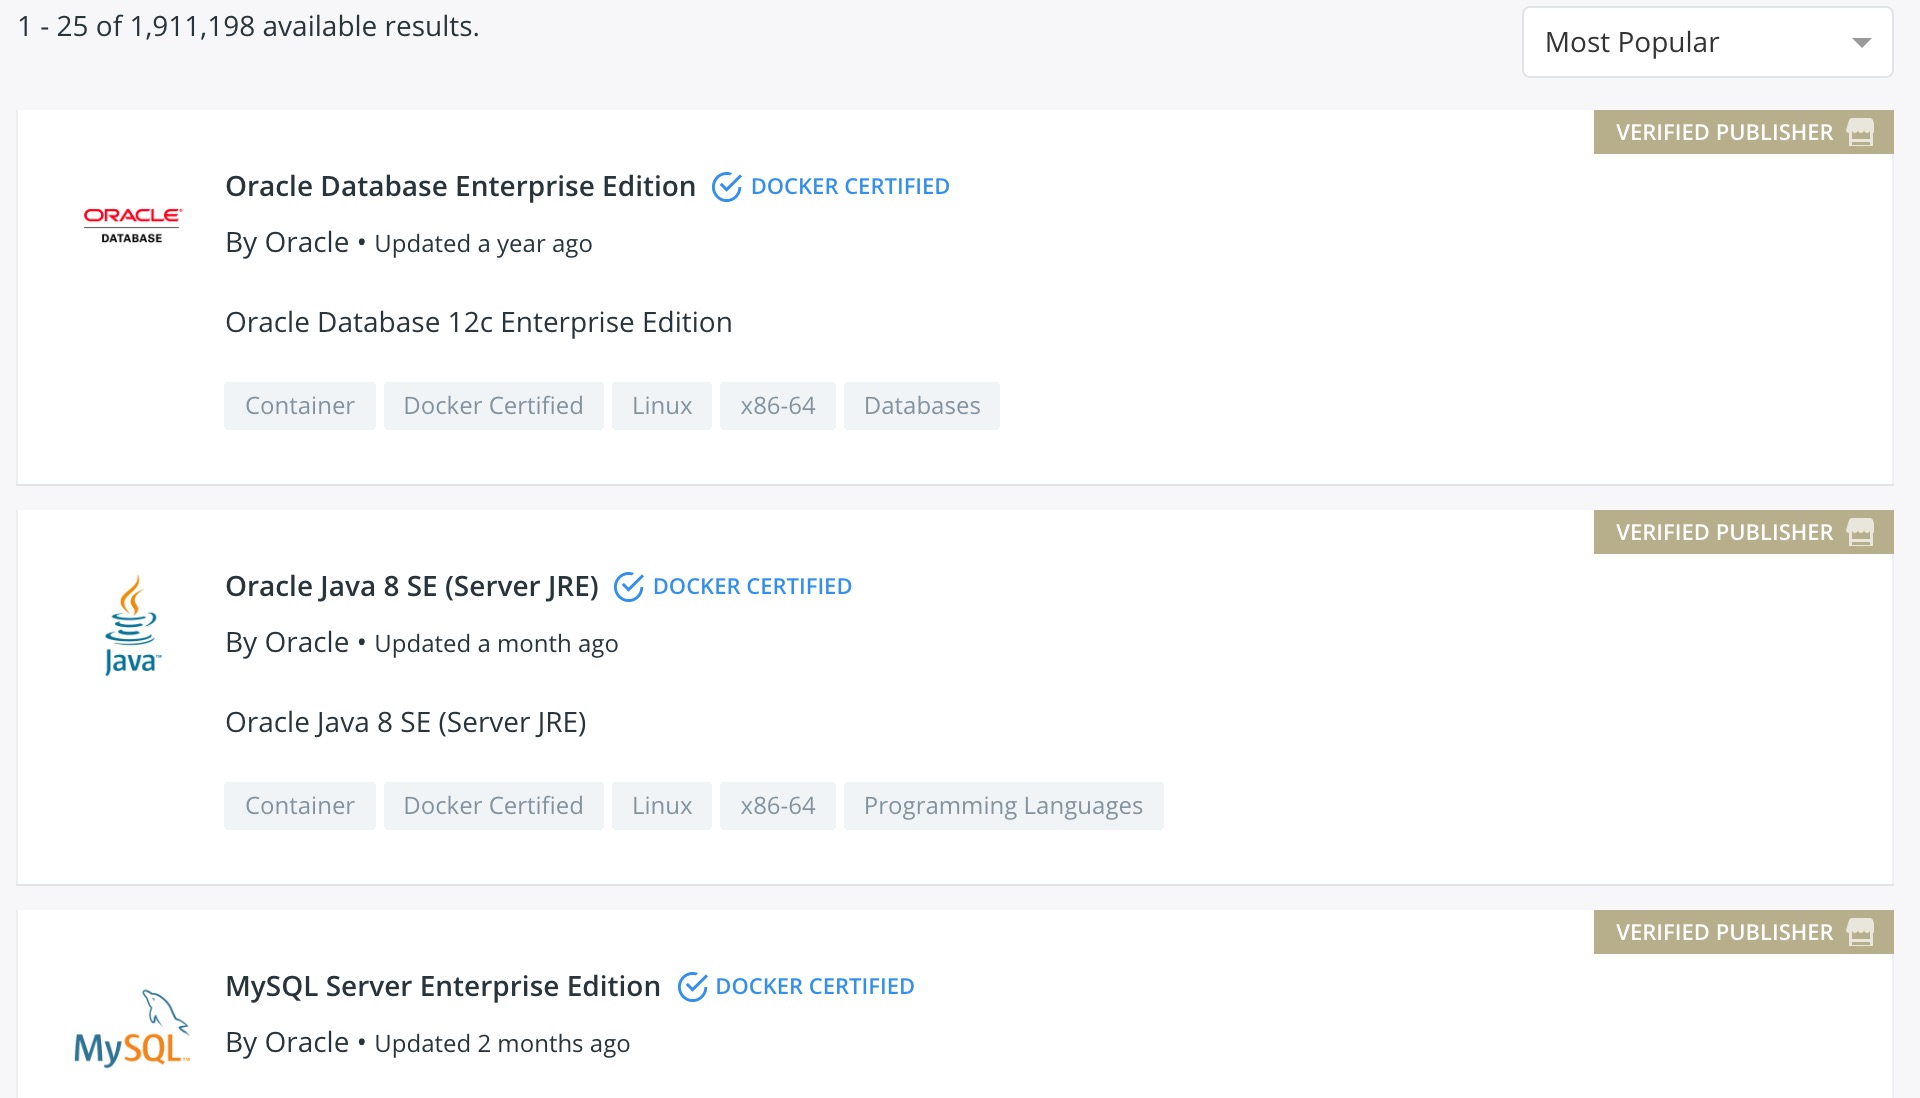
这里提供了大量的Docker容器镜像:

官方提供了一个 hello-world 的镜像,初学者可拿这个来尝试。比如,你可以运行:
docker run hello-world
run 命令是 create + start 的简写方式。
关于配置,是件很麻烦的事。我为了搭建一个 PHP + MySQL 环境,前前后后用了2天时间。在此,我想回顾一下这个“N*Failure to Success”的过程。
最初,我在hub上查询httpd,得倒httpd这个镜像。然后,我查找php镜像,也得到了php这个镜像。最后,我要写一个Dockerfile将这两个镜像合成一个,内容大概如下:
FORM httpd:2.4
COPY ./apache.conf /usr/local/apache2/conf/httpd.conf

FROM php:5.6-fpm
...
这样写完,我毫无把握,但还是硬着头皮运行一下,结果当然是不通的!因为,要想让httpd能解析php脚本,这里缺少了大量的配置,而我对这类配置颇为厌烦!何况,这还要基于Docker配置语言来编写。
又仔细读了httpd镜像的说明:
This image only contains Apache httpd with the defaults from upstream. There is no PHP installed, but it should not be hard to extend. On the other hand, if you just want PHP with Apache httpd see the PHP image and look at the -apache tags. If you want to run a simple HTML server, add a simple Dockerfile to your project where public-html/ is the directory containing all your HTML.
作者要求我关注 php:5.6-apache 这个镜像。这都是集成好的环境,直接由此创建一个容器,果然能解析php脚本。然而,我的应用还是无法顺利地运行起来,至于原因,难说!
折腾多时,我在Google上所搜了 docker + php + mysql 关键词,结果得到一篇合意的博客《Create PHP-MySQL-Apache Development Environment using Docker》:
也就是这篇博客终结了我两天的Docker摸索之路。
下面,我将配置贴出来:
FROM ubuntu:latest
MAINTAINER Name<email>
ENV DEBIAN_FRONTEND noninteractive
# Install basics
RUN apt-get update
RUN apt-get install -y software-properties-common && \
add-apt-repository ppa:ondrej/php && apt-get update
# force-yes cannot install
# RUN apt-get install -y — force-yes curl
# — cannot be located
RUN apt-get install -y curl
# Install PHP 5.6
# RUN apt-get install -y allow-unauthenticated php5.6 php5.6-mysql php5.6-mcrypt php5.6-cli php5.6-gd php5.6-curl
# allow-unauthenticated  cannot be located
RUN apt-get install -y php5.6 php5.6-mysql php5.6-mcrypt php5.6-cli php5.6-gd php5.6-curl
# Enable apache mods.
RUN a2enmod php5.6
RUN a2enmod rewrite
RUN a2enmod expires
# Update the PHP.ini file, enable <? ?> tags and quieten logging.
RUN sed -i "s/short_open_tag = Off/short_open_tag = On/" /etc/php/5.6/apache2/php.ini
RUN sed -i "s/error_reporting = .*$/error_reporting = E_ERROR | E_WARNING | E_PARSE/" /etc/php/5.6/apache2/php.ini
# Install vim
RUN apt-get install -y vim
# Manually set up the apache environment variables
ENV APACHE_LOG_DIR /var/log/apache2
ENV APACHE_LOCK_DIR /var/lock/apache2
ENV APACHE_PID_FILE /var/run/apache2.pid
# Expose apache.
EXPOSE 80
EXPOSE 8080
EXPOSE 443
# mysql in another container
EXPOSE 3306
# Update the default apache site with the config we created.
ADD apache-config.conf /etc/apache2/sites-enabled/000-default.conf
# By default start up apache in the foreground, override with /bin/bash for interative.
CMD /usr/sbin/apache2ctl -D FOREGROUND
其中,涉及到一些常用的命令,如FROM、RUN、ENV、CMD、EXPOSE等,官方文档均有详尽的解释:
https://docs.docker.com/engine/reference/builder/
从这个配置文件即可创建一个镜像,进而创建一个容器。这个配置中没有mysql,我的处理方式是,从hub上pull一个mysql镜像下来,创建一个单独的容器。然后用–link选项创建容器,以使其能够与mysql容器沟通:
docker run -d -v "$PWD":/var/www/website -p 8080:80 -p 8081:8080 --link box-mysql:mysql --name box blog:1.0.0
服务器的环境配置,对我而言一直比较头痛,因为要查看的东西太多了,配置选项往往列出好几页!另外,还有版本导致的不兼容问题。
然而,一切的代码都需要运行在经过复杂配置的服务之上,还是怀着一颗敬畏的心态来面对吧。也许并没想象的那么难、复杂。
